
Crypto accountants have a problem.
QuickBooks does not natively support crypto assets.
The process for categorizing crypto in QuickBooks can take five times longer than the process of accounting for traditional income, expenses, assets, and liabilities.
Also, manually categorizing crypto assets in QuickBooks is fraught with risks for mistakes on valuation and general ledger account assignation.
Obviously, you want to keep using the QuickBooks software system.
QuickBooks is the #1 accounting software for SMB’s, with an 82% market share and is feature rich for most businesses.
There's a simple way to solve this crypto categorization problem and keep using QuickBooks software.
In this post, we’ll explore two ways to categorize crypto in QuickBooks — with Bitwave's Crypto Accounting Software, or by doing so manually.
Accounting and blockchain follow the same logic
Blockchain is a system of triple-entry bookkeeping.
Blockchain transactions exist on a public ledger system that automatically calculates transactions as they take place in real-time.
If you send, or receive, a quantity of Bitcoin (or some other kind of digital asset) to another business, the transaction will appear on a public ledger.
But raw blockchain data lacks clear context and block explorer links do not provide accounting-grade information for your record keeping and for any subsequent proof of transactions.
Lack of transparency makes it difficult to integrate blockchain transactions into your accounting system in a way that can help you make sense of the details.

Blockchain is advancing the field of accounting as transactions populate in real-time.
But that's not the end of it.
Raw blockchain data lacks context and block explorer links do not provide accounting grade information.
That's where crypto accounting software comes in — allowing you to enrich, classify, and tag crypto transactions and create a journal entry in QuickBooks.
One of the most important features of crypto accounting software is the ability to organize financial information in a clear way.
You can use a customizable dashboard, the ability to map contacts, the option to manage multiple crypto wallets, and integrations with accounting software like QuickBooks Online, NetSuite and Xero.
As you optimize your crypto to QuickBooks workflow, the more time you’ll have to focus on actually advising your clients.
Can QuickBooks even handle cryptocurrency?
Crypto works in QuickBooks, but there are clear limitations.
As examples:
- QuickBooks only supports two decimal places. For cryptocurrency accounting, this is an issue because coins like Ethereum can have up to 18 decimal places.
- QuickBooks does not allow you to link your crypto wallets. If you have a high-volume of transactions to track down, this can become extremely burdensome to manually upload each transaction to QuickBooks.
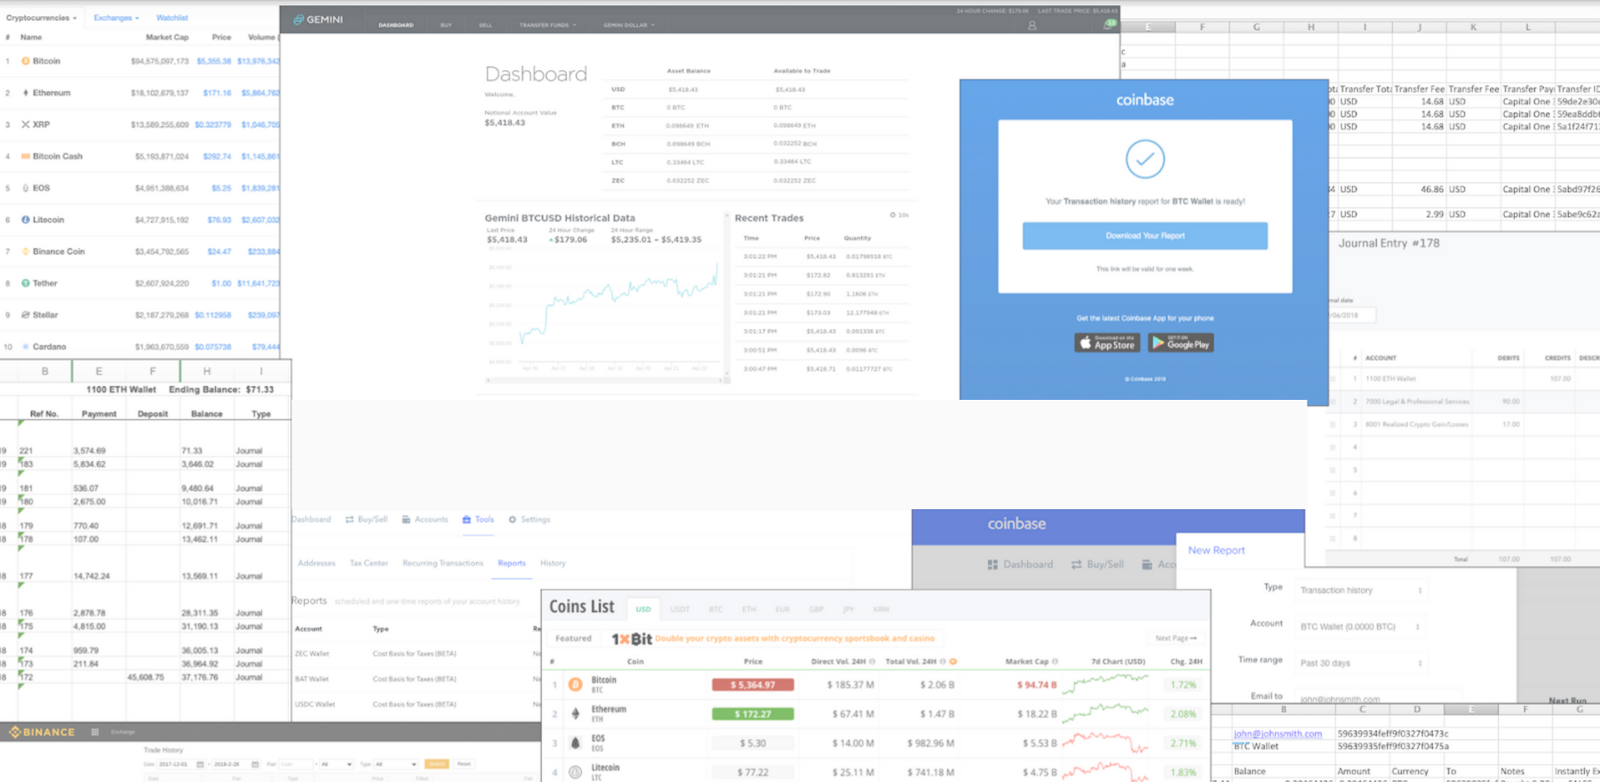
How to categorize crypto in QuickBooks with Bitwave’s crypto accounting software
After this section, we will show you how to manually categorize Crypto in QuickBooks, but first let's simplify your life.
There’s an easier, faster, and less expensive way to categorize your Crypto in QuickBooks.
With Bitwave Crypto accounting software, there are just three steps.
Step 1. Connect to Quickbooks in Bitwave
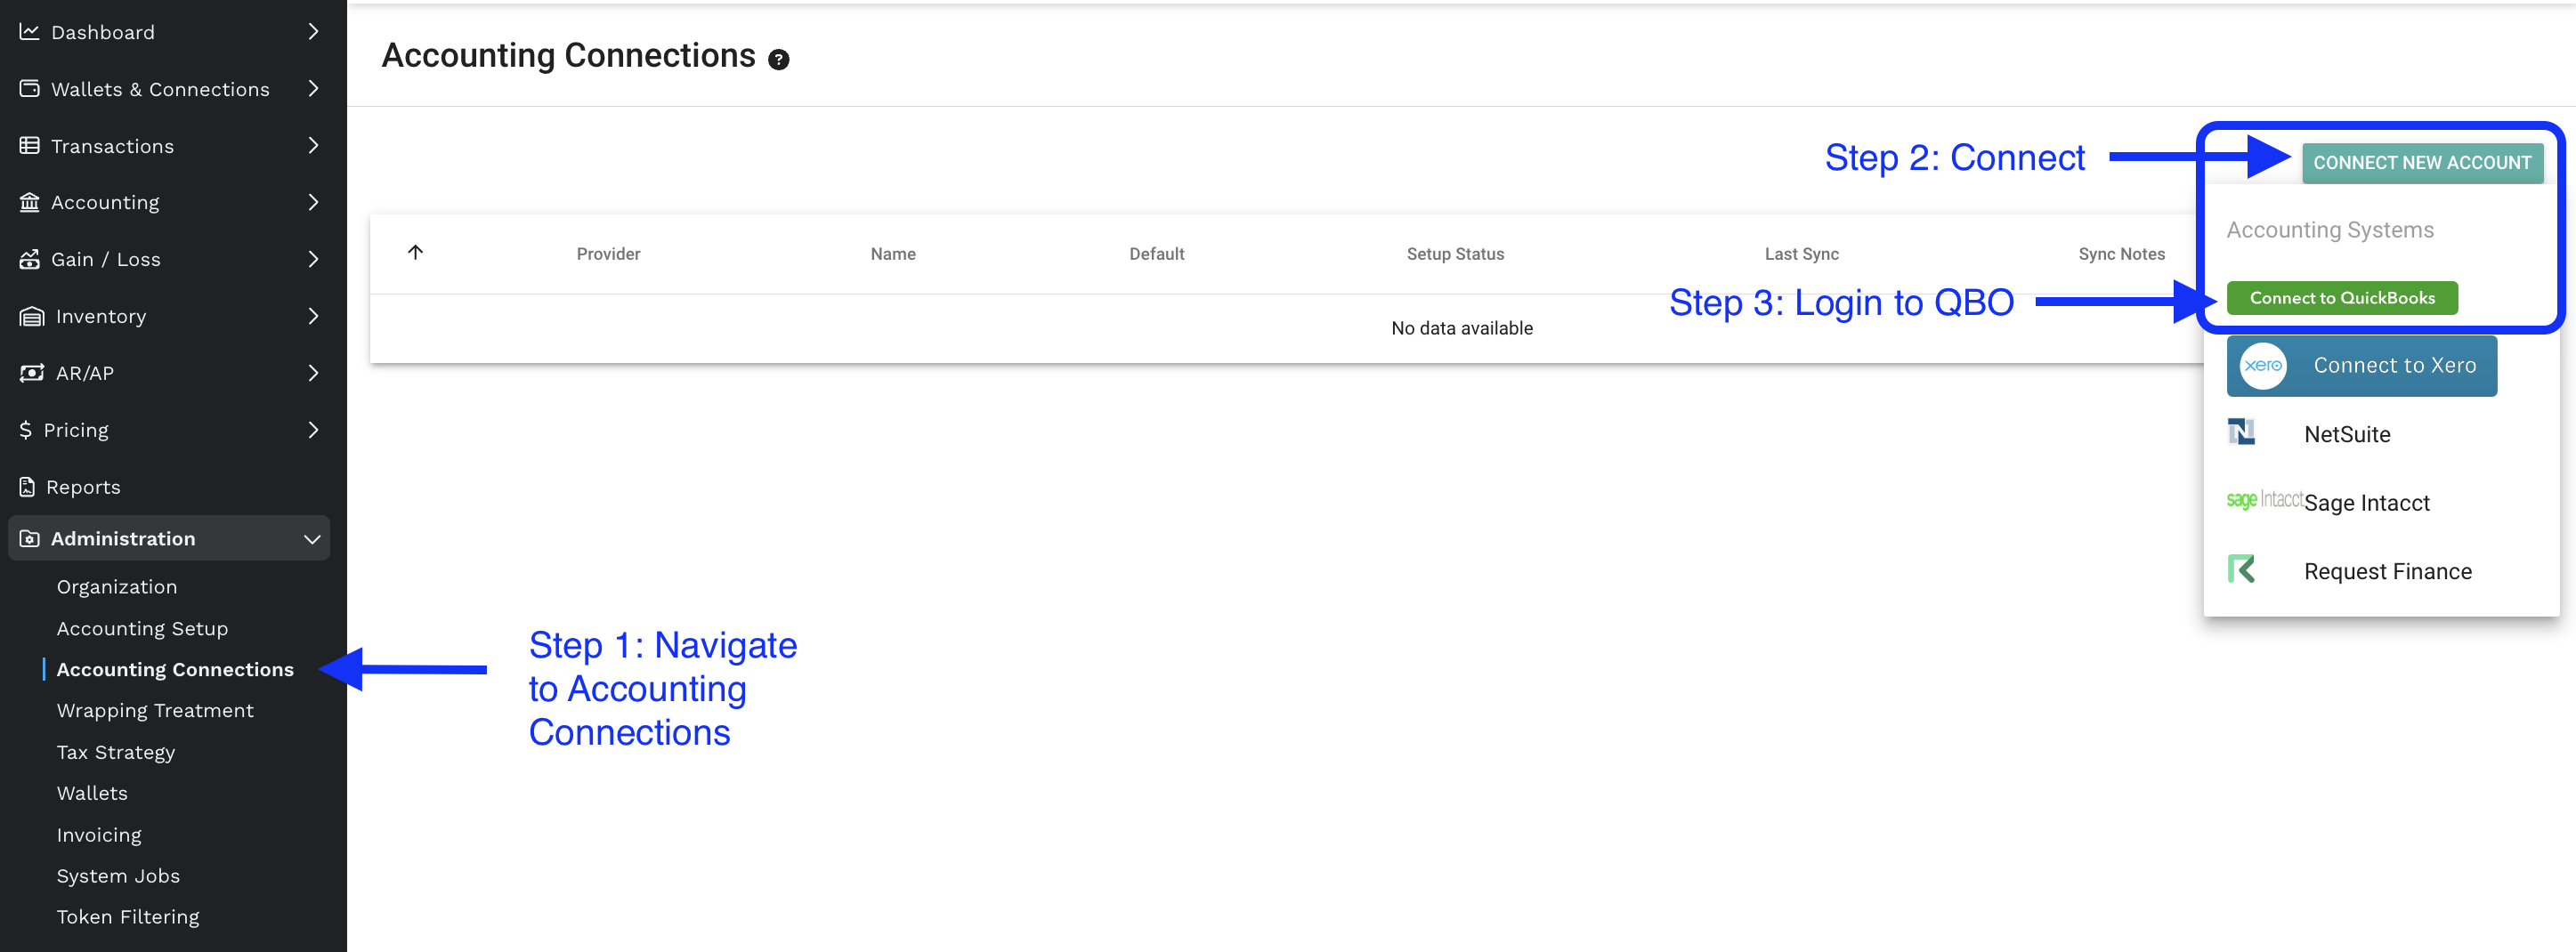
In the Bitwave app, you’ll want to add Quickbooks as a new accounting connection. It’s a simple three-step process.
- Navigate to Administration > Accounting Connections.
- Select "Connect New Account"
- Select "Connect to QuickBooks" to log in to your QBO online account.
Please note, we are only integrated with QuickBooks online and not the desktop version of QBO.
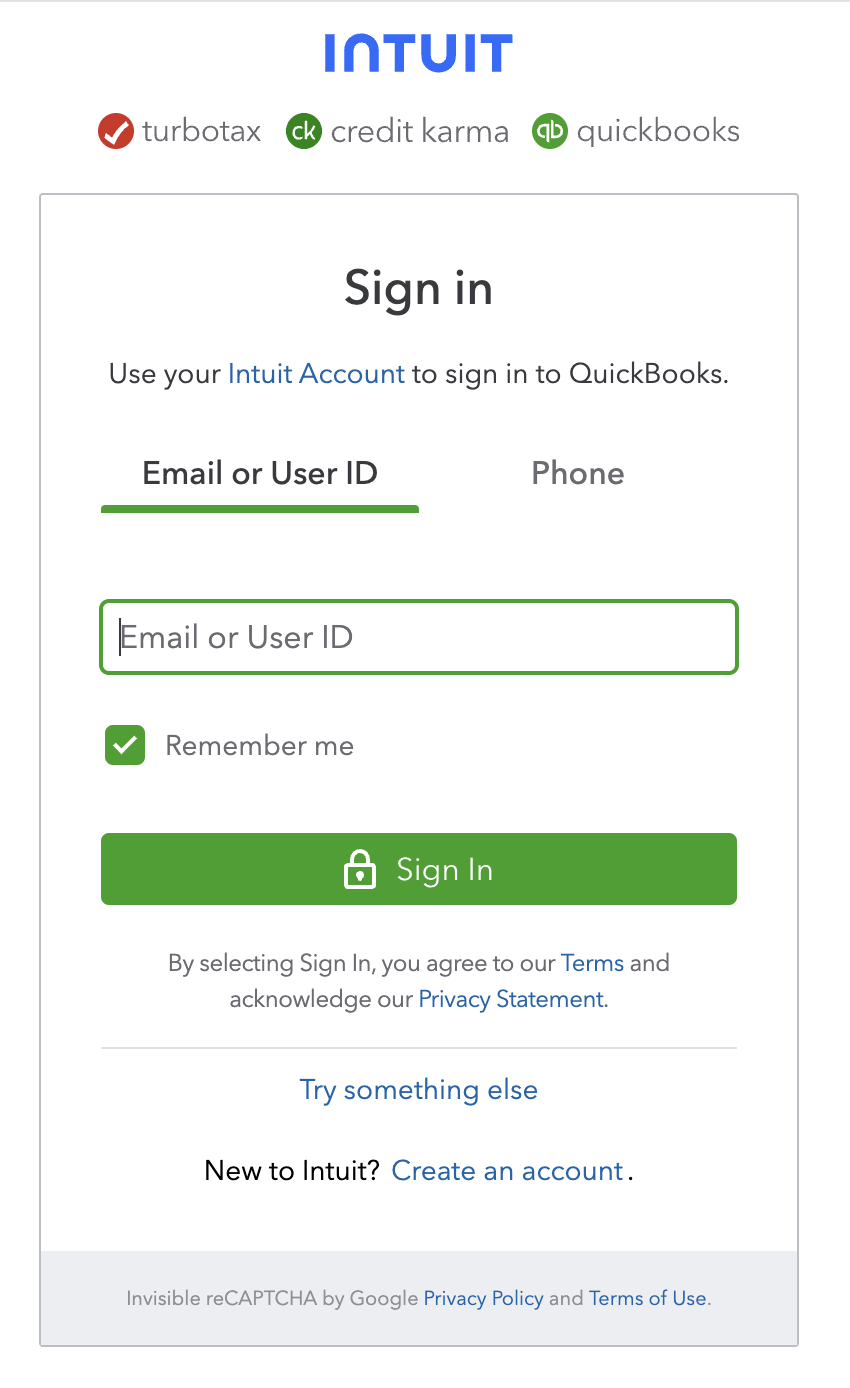
Step 2. Sign in through Intuit interface
Use your Intuit Account email or user ID to sign in to QuickBooks.
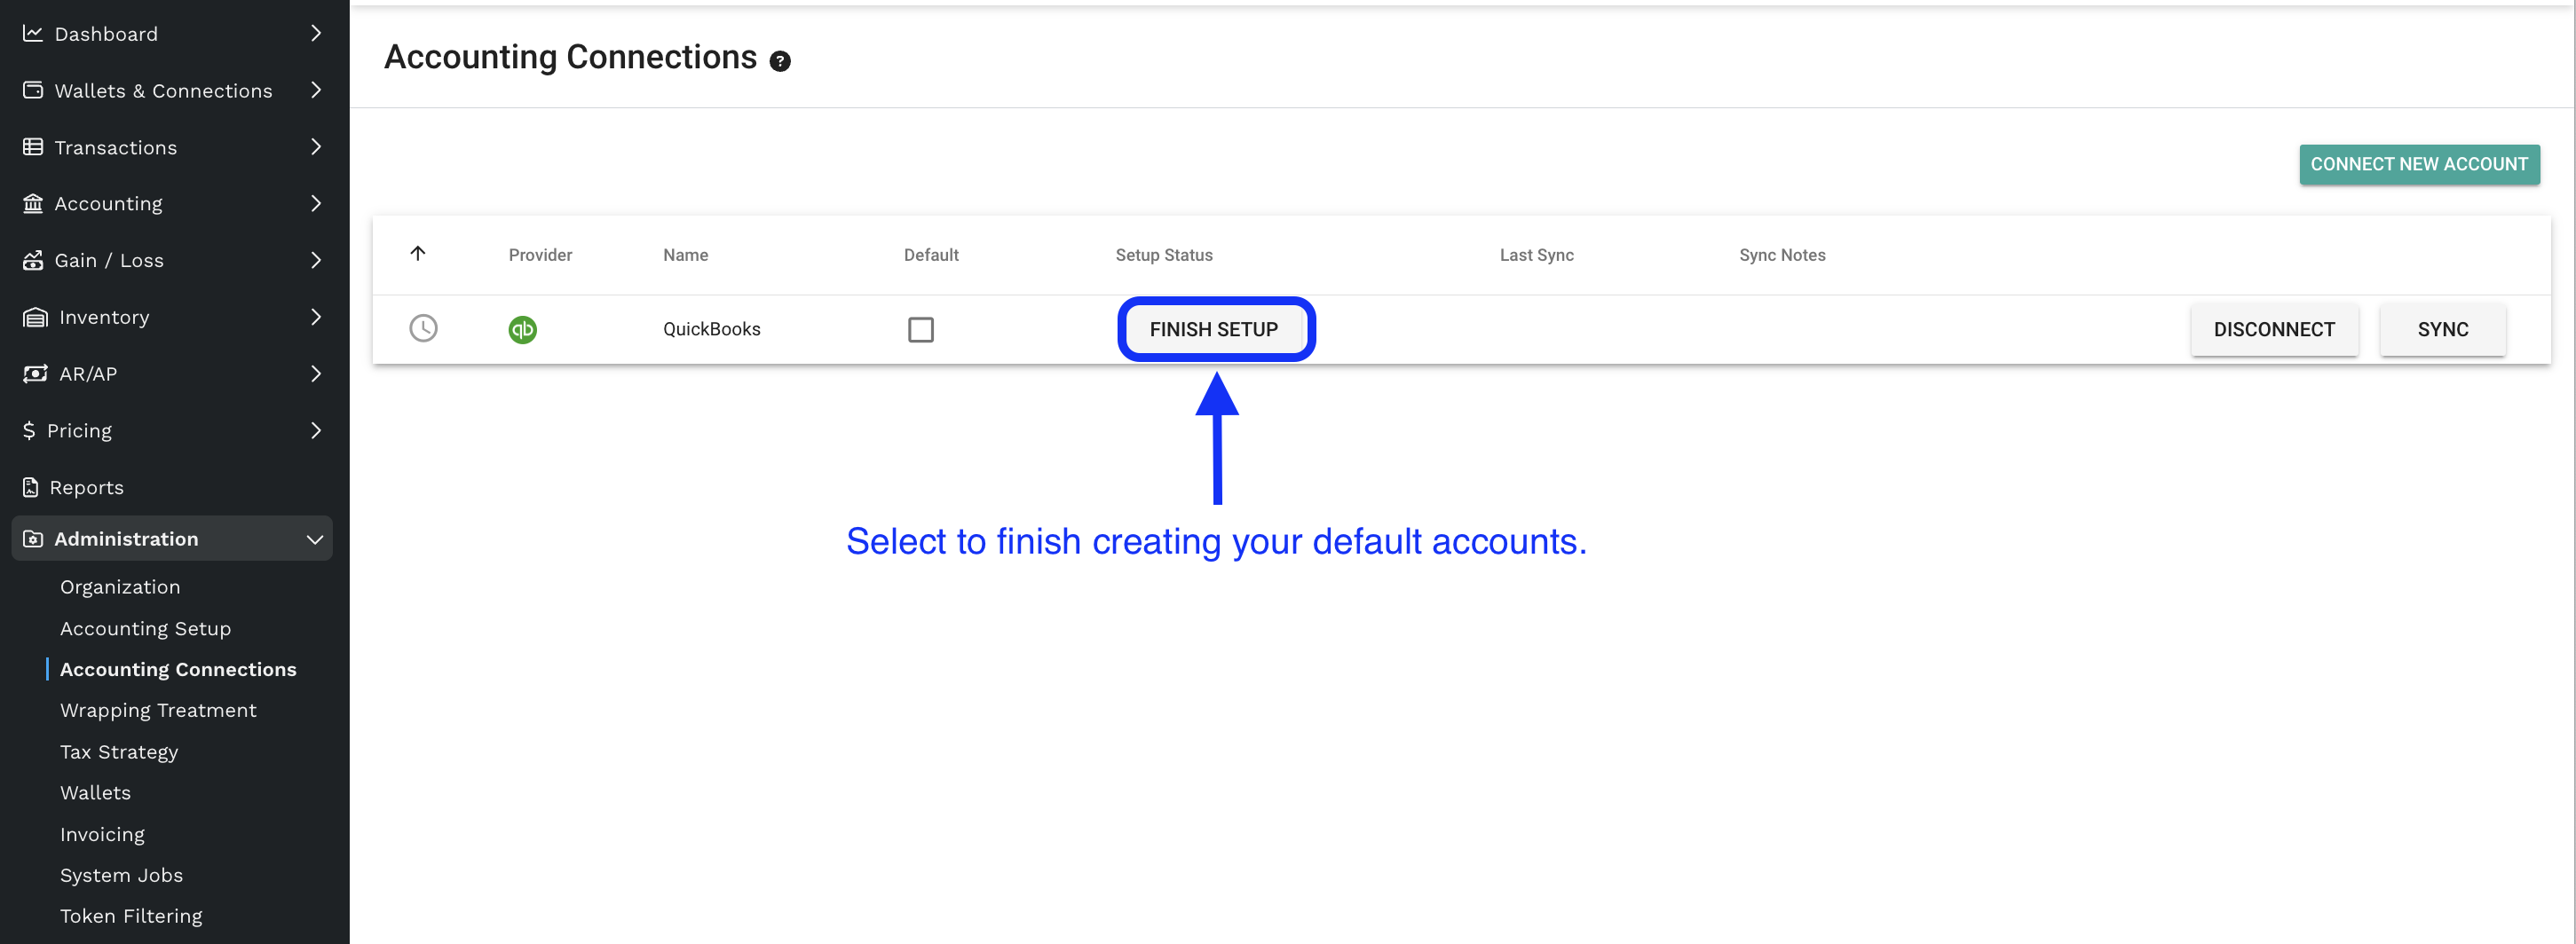
Step 3. QuickBooks Chart of Accounts Setup
After connecting your Quickbooks, select "FINISH SETUP" to select defaults.
Step 4. Default Digital Asset Holding Accounting (Bank Account):
Prior to connecting your Quickbooks, you will want to set up your Chart of Accounts. You may either choose to create a new general ledger account called "Bitwave - Digital Assets," which will be synced into QBO, or select an already existing account from your QBO chart of accounts.
This account will appear as a "Bank Account" type in your Chart of Accounts and will sync transactions through the bank feed.
Step 5. Default Fee Account (Expense Account):
You will also be prompted to create a new general ledger account called "Bitwave - Crypto Fees" or you may select an already existing expense account.
This expense account will automatically be applied to transactions that include on-chain transaction fees such as "gas fees" or transaction fees for exchanges.

Here’s how the default accounts appear in the QBO Chart of Accounts.
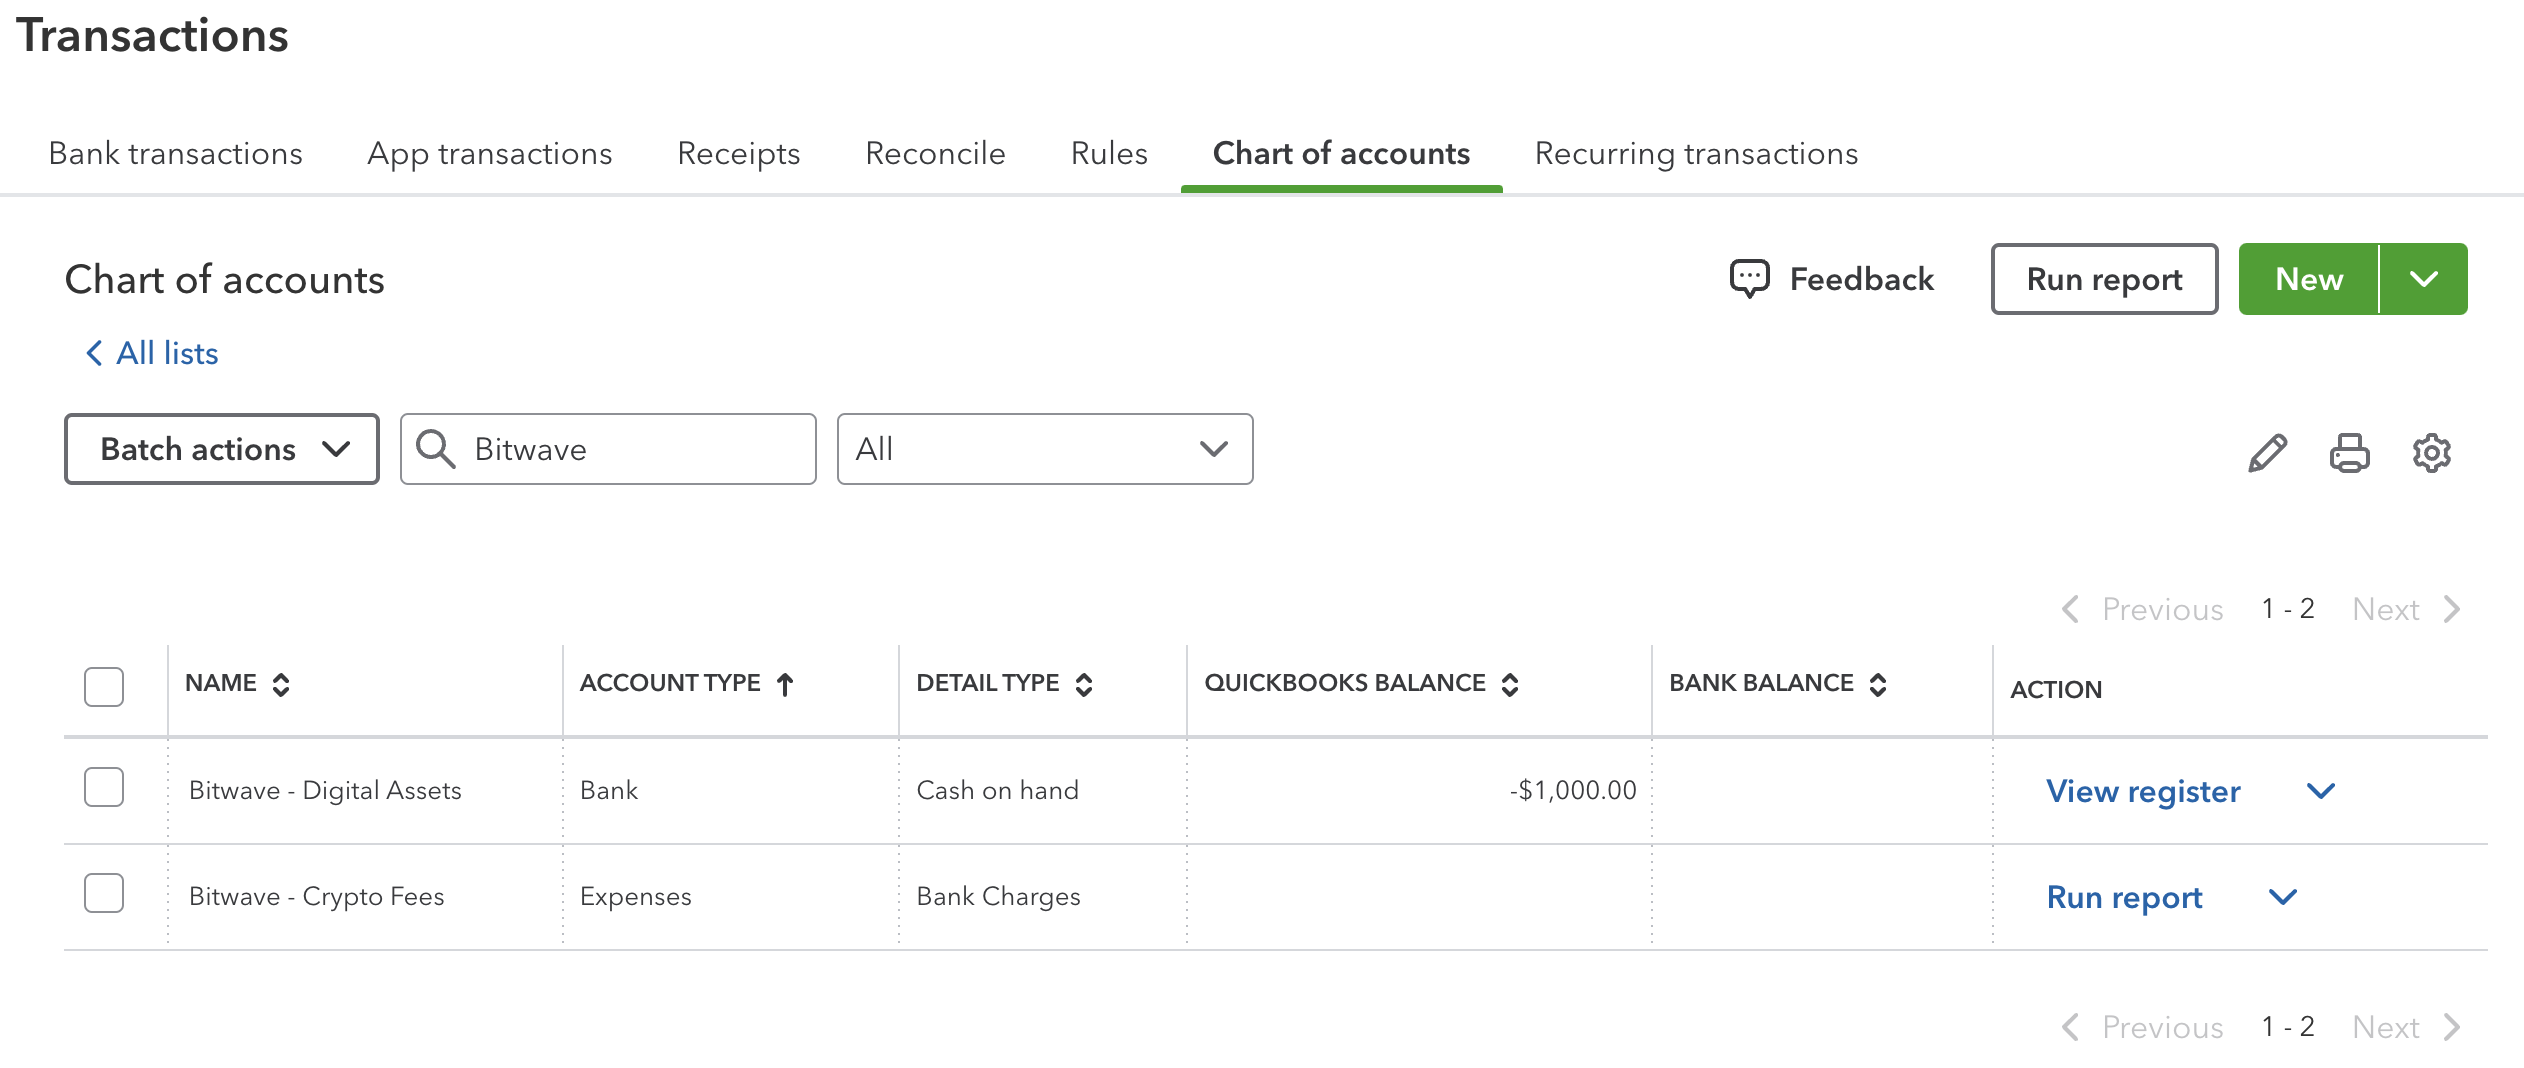
Step 6: Select "SAVE." You have successfully connected your QuickBooks!
The "Last Sync" and "Sync Notes" column will be populated indicating a successful sync with QBO. Check the "Last Sync column" periodically prior to reconciling your data to ensure that the connection is still active and synced through the current date.

At this point, your records of digital assets, as well as your entire history of transactions, will begin to upload into your Bitwave account.
This information will be saved and accessible each time you log into your account.
Bitwave allows you to view all your crypto wallets and transactions in one place. Your portfolio of digital assets and transaction history will be available to use with a variety of payment and accounting tools. This includes Bitcoin, Ethereum, Polygon, and a variety of other cryptocurrencies.
How to manually categorize crypto in QuickBooks
The process of accounting for cryptocurrencies in QuickBooks will overlap with the way you account for other assets.
If you are accepting crypto and recognizing revenue in the form of digital assets, you’ll want to have an asset account for your crypto holdings that’s separate from your bank account asset accounts.
Likewise, expenses paid using cryptocurrencies should be shown as a credit to those asset accounts — but you’ll need to convert and then track them in your base fiat currency.
Converting valuations manually to fiat values will require asset price conversions prior to creating entries, which should be done at the spot price of the cryptocurrency on the day it is received.
You will need to create a general ledger account to best track this information.
And invariably, if you invoice someone in Crypto, they will either remit in fiat at a different conversion price than when you billed them (causing you to adjust your internal fiat transaction value) or use a wallet exchange that subtracts out fees that are not advantageous to you.
This necessitates that you adjust accounts receivable accounts for reduced asset values and reduce revenue due to lower fiat value of collections, net of expenses.
How do I add crypto manually to QuickBooks?
QuickBooks doesn’t have a standard way to account for cryptocurrencies.
Your best choice is to maintain your own record of this information on a separate ledger sheet.
You can keep notes in the memo section, including the names and quantities of the assets you're transacting.
You’ll also want to maintain a separate ledger account for your gas fees.
Although it’s possible to track these fees on-chain, you should dedicate a separate account in the general ledger within QuickBooks, since it’s considered a qualified business expense.
You’ll also want to create a record for each outgoing transaction.
And then you can manually upload the data into QuickBooks.
As you can see from above, manually accounting for crypto assets involves multiple steps with multiple moving parts that are slow, manual, and subject to interpretation and variation.
As accountants, we don’t like phrases like “slow”, “manual”, and “subject to interpretation and variation.”😁
Final thoughts
Although it's possible to categorize crypto in QuickBooks without a third-party application, Crypto accounting software like Bitwave makes the process much easier.
You can keep using QuickBooks, integrate the Bitwave crypto accounting software and speed up, simplify, and remove transaction accounting risks in one easy process.


Disclaimer: The information provided in this blog post is for general informational purposes only and should not be construed as tax, accounting, or financial advice. The content is not intended to address the specific needs of any individual or organization, and readers are encouraged to consult with a qualified tax, accounting, or financial professional before making any decisions based on the information provided. The author and the publisher of this blog post disclaim any liability, loss, or risk incurred as a consequence, directly or indirectly, of the use or application of any of the contents herein.


